How to export a layer?
You can export your GIS Cloud layers in the following formats:
- ESRI Shapefile
- GeoJSON
- MapInfo
- KML
- DXF
- CSV
- XSLX
When exporting your GIS Cloud layer, it’s important to consider the limitations of different export formats.
If you’re editing data in GIS Cloud (eg. collecting data, editing features, attributes, etc.), then you’re working with data from your local GIS Cloud database. This is a PostGIS database, and it doesn’t have some of the restrictions that the export formats listed above have, for example on field name length or text size. However, some export formats have limitations. Below are some know limitations, as well as suggestions on mitigating risk when exporting data.
- ESRI Shapefile – Field names are limited to 10 characters, and text fields can store a maximum of 254 characters. If your data includes longer names or descriptions, they will be truncated. Note that photo fields (in data collection) are text fields, and the way that information is stored (in JSON format), could easily go over that limit if you have a lot of photos on one field.
- CSV – A better option for preserving long text fields, as it does not have strict character limits.
- MapInfo, KML, DXF – May have their own format-specific limitations, so be sure to check if your attributes fit within their constraints.
Alternatively, if you plan on re-importing the data into GIS Cloud after making changes to it locally, consider using WFS instead. Learn more about this option here.
There are two ways to export a layer:
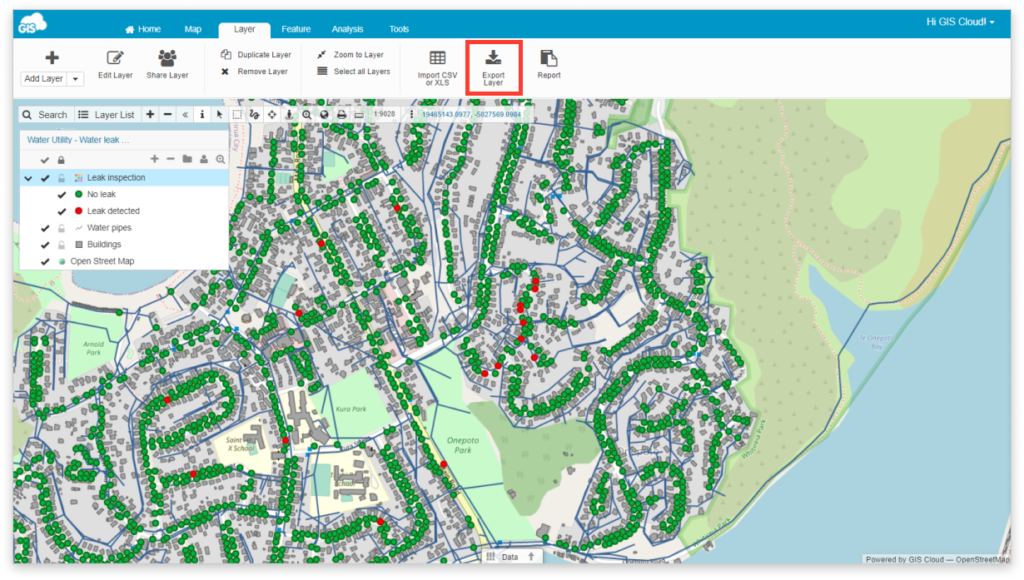
1. You can export a layer by clicking the Export Layer button in the Layer tab.
- Select the layer from the Layer List.
- Select the Layer tab.
- Select the Export layer option.
- Select an output file format.
- Click the link to download the resulting file.
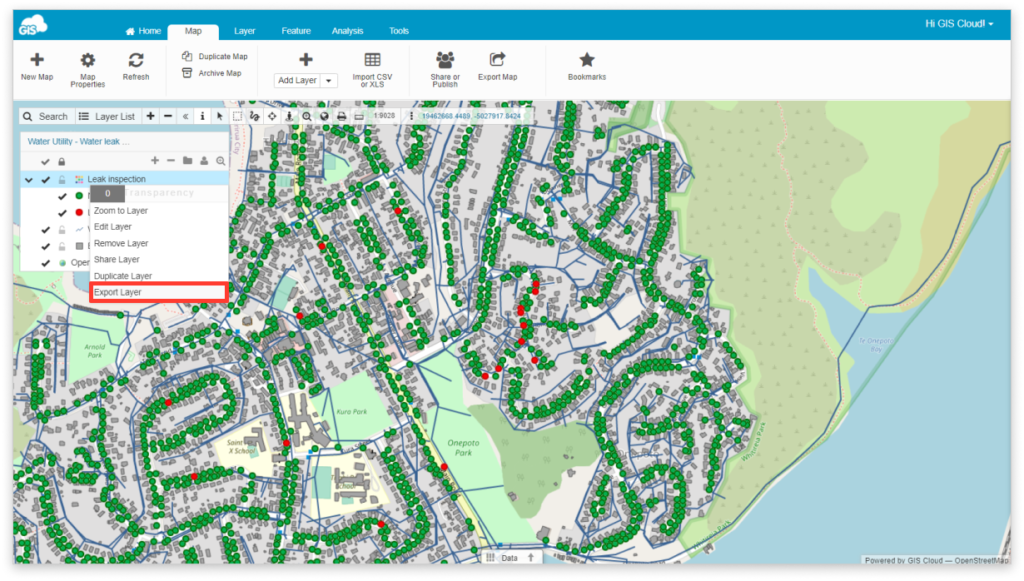
2. A layer can also be exported through the layer list.
- Click on the three dots next to the layer name in the layer list.
- Click on the Export Layer option.
- Select an output file format.
- Click the link to download the resulting file.