How to set up filters in custom apps?
GIS Cloud filters are used to filter data in a map and attribute table based on feature attributes. It is possible to set filters for multiple layers within the same map. It is also possible to set filters for more maps within the custom app.
There are two ways to add filters to a custom app – by adding a filter builder, or by adding filters directly through the app builder. If you’re sharing your map publicly or with clients, you might prefer adding the filters directly through the App builder so that the end user doesn’t see the Filter builder button on the top menu ribbon.
Note: Filters are only available for custom apps! Specifically, they can be set up for Map Portal instances, or for Map Editor or Map Viewer instances if they have been set up with the Map Portal interface. If you’re interested in learning more, feel free to contact our consultants at sales@giscloud.com
Add filters through the App Builder (Panels)
You’ll need to first access the App Builder for your custom app – you can do this by adding /builder to the end of your app URL. Once you’ve logged in, navigate to the Panel Section. Note: if the map you’d like to work on is not the one that opens by default, make sure to navigate to the map first.
- Select Add a new panel
- Add the title, height and the width in pixels
- Check or uncheck the Open by default option
- From the Content dropdown, select GIS Cloud Filter. Note that only layers imported into the Database can be filtered.
- Click Filter button
- Select the layer you want to add filters for. You can repeat this for other layers as well.
- Select one of the available filters from the dropdown list, and adjust the settings accordingly.
- Once you’re done, click Forward configuration to App Builder button
- You’re back in the Panel settings window, so you can now click Add button.
- Save the changes and try out your new filters!
Add a filter builder to a custom app
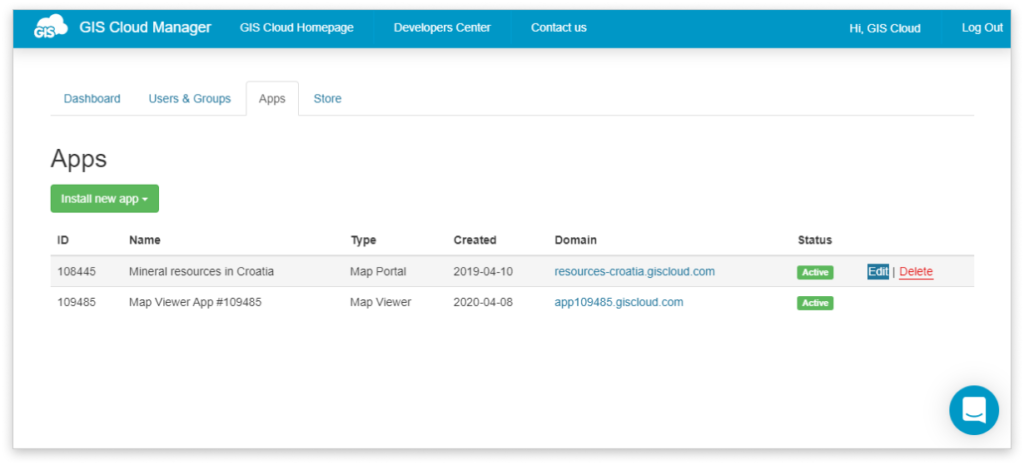
1. Open the Manager app and login with your GIS Cloud credentials.
2. Go under the Apps tab and click the Edit button for the desired app.
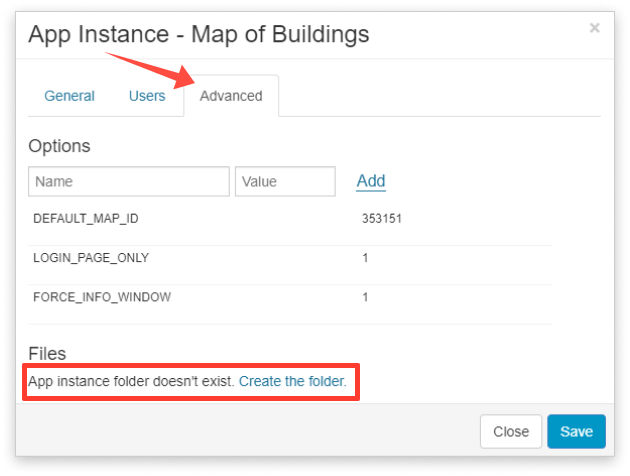
3. Go under the Advanced tab and click the Create/Open app folder.
4. Create a new app.json file or open the existing one.
5. If a new app.json file is created, paste this code:
{
"responsive": true,
"scripts": {
"setup": []
},
"sections": {
"top": {
"menu": {
"items": [{
"label_i18n": "Filters",
"href": "javascript:;",
"onclick": "giscloud.app.panels[0].toggle();"
}, {
"label_i18n": "Filter builder",
"href": "javascript:;",
"adminCheck": true,
"onclick": "new giscloud.ui.FilterBuilderManager()"
}]
}
}
}
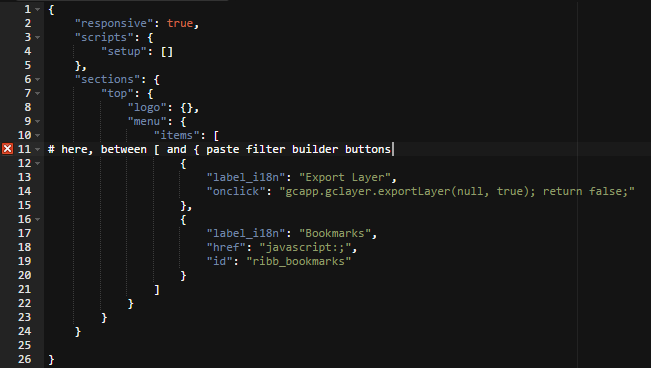
}6. If you already have the app.json file set with some custom buttons, paste only the code below. It should be in the 9th row, between “items”: [ and {
{
"label_i18n": "Filters",
"href": "javascript:;",
"onclick": "giscloud.app.panels[0].toggle();"
},
{
"label_i18n": "Filter builder",
"href": "javascript:;",
"adminCheck": true,
"onclick": "new giscloud.ui.FilterBuilderManager()"
},
7. Click Save&Close
8. Refresh Map Portal and it should have two additional buttons: Filters and Filter Builder.
Note: Only the app owner can see the Filter builder button after login.
How to create filters with the filter builder
Here you can find instructions on how to add filters. After clicking the Filter builder button on the Map preview ribbon:
- Open the Filter builder button. Make sure you’ve already opened the map where you want to add the filters.
- Choose the layer you want to filter.
- Select the filter type.
- Select the layer column.
- Add the label which will be displayed and additional options.
- Click Apply.
- Click Save&Close.
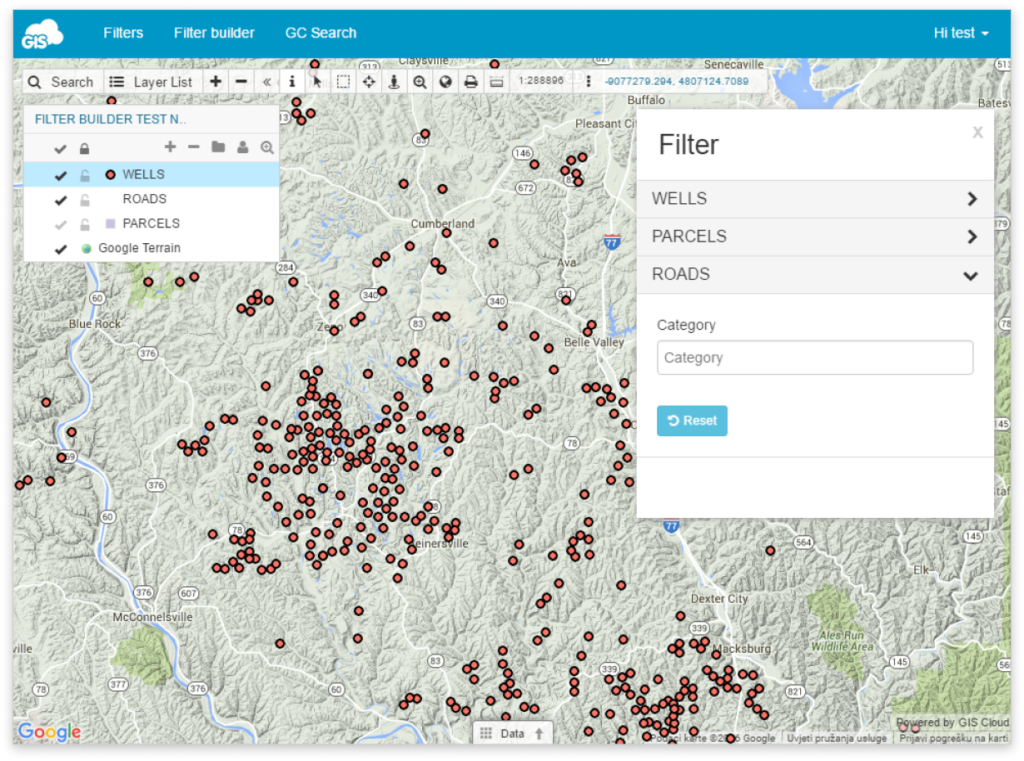
- Click the Filters button to view filters.
List of available filters
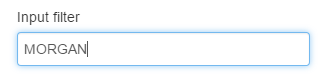
- Input filter – search exact value within the selected column. This filter is case sensitive.
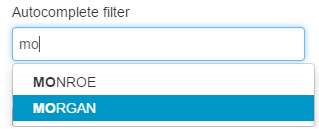
- Autocomplete filter – populates entered values. Display only relevant values – if some other filter is applied, this option filters values from already filtered rows.
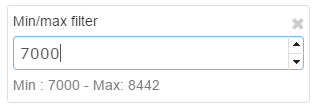
- Min/Max filter – filter for numbers. Searches features between the minimum value and the value written in the box. This filter works only with Integer and Real column type. Autofetch option automatically calculates the minimum and maximum value.
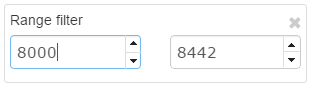
- Range filter – filters values in a range between min and max value. Step value option defines difference value between two classes. Autofetch option automatically calculates minimum and maximum value.
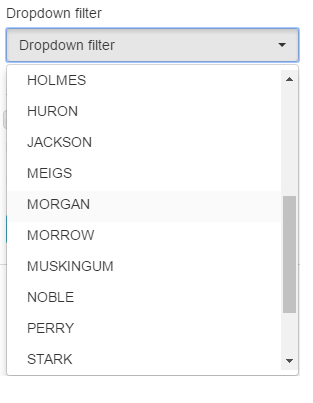
- Dropdown filter – values can be selected from the drop-down menu. When the Multiselect option is checked, it is possible to select more values from the dropdown list. You can manually add values in the drop-down list or check Autofetch to add all values within a column in this filter automatically.
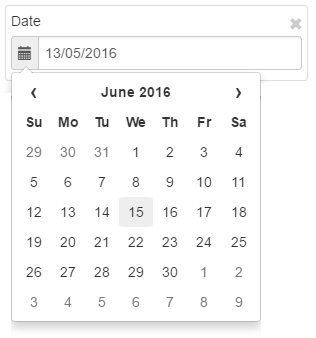
- Date filter – searches features based on Date and Time. This feature works only for Timestamp column type. You can choose between Before and After operators. Before operator filters dates before the selected date and after filters dates after the date selected in the filter.
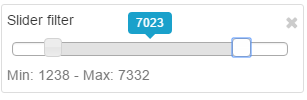
- Slider filter – features can be filtered using a slider. Step value option defines the difference value between the two classes.
- Features number filter – shows the number of selected features.
