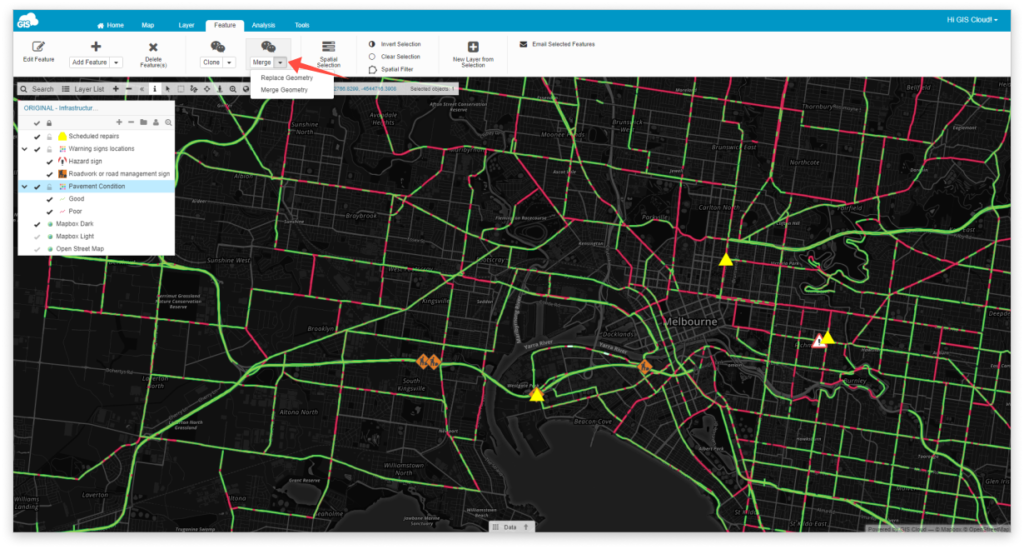
Merge or Replace Geometry
Under Merge tool, you will find two options – Merge and Replace. They are used for merging or replacing features’ geometry. It is possible to replace or merge only layers with the same geometry type, for example, a polygon layer and a polygon layer.
Note: To be able to perform a merge or replace geometry, all layers need to be added to the map from the Database.
Find Merge tool in Feature tab.
Merge geometry
Merge geometry tool is used for merging multiple geometries into one. Features have to be in the same layer, and their geometries have to overlap if the layer type is point, line or polygon.

Follow these steps to merge geometry:
- Select an editable feature.
- Select Merge Geometry option.
- Select an overlapping feature from the same layer.
- Click Accept.
As a result, you get two separate features merged into one.
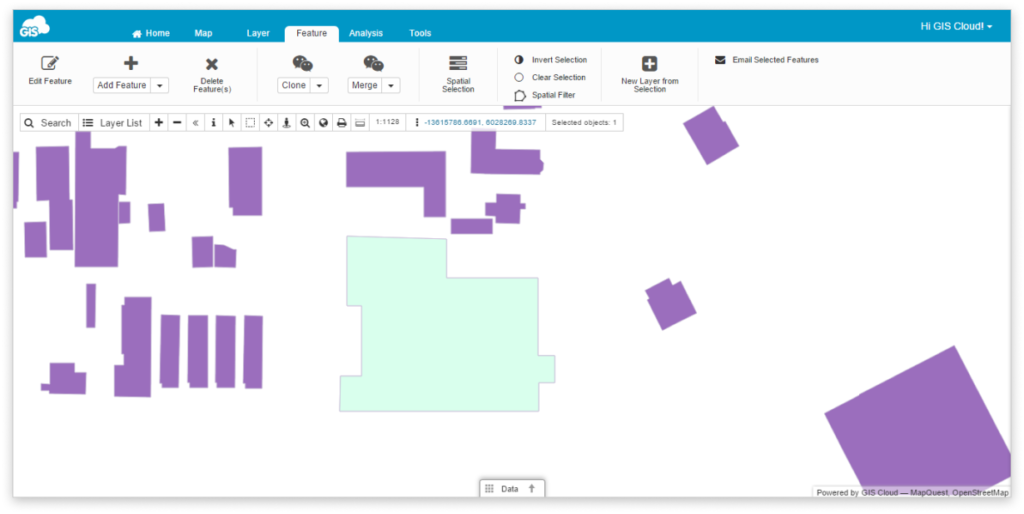
Note: When merging the geometries of two features in a multipolygon layer, the geometries of the features do not have to overlap.
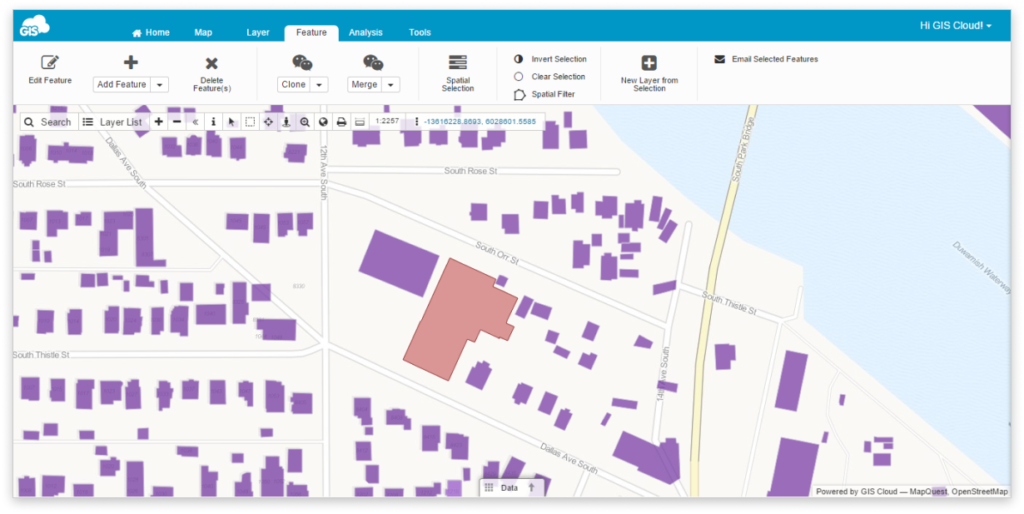
Replace geometry
Replace geometry tool is used for replacing one feature’s geometry with that of another. The geometry of the target feature will be replaced with the geometry of the source feature.
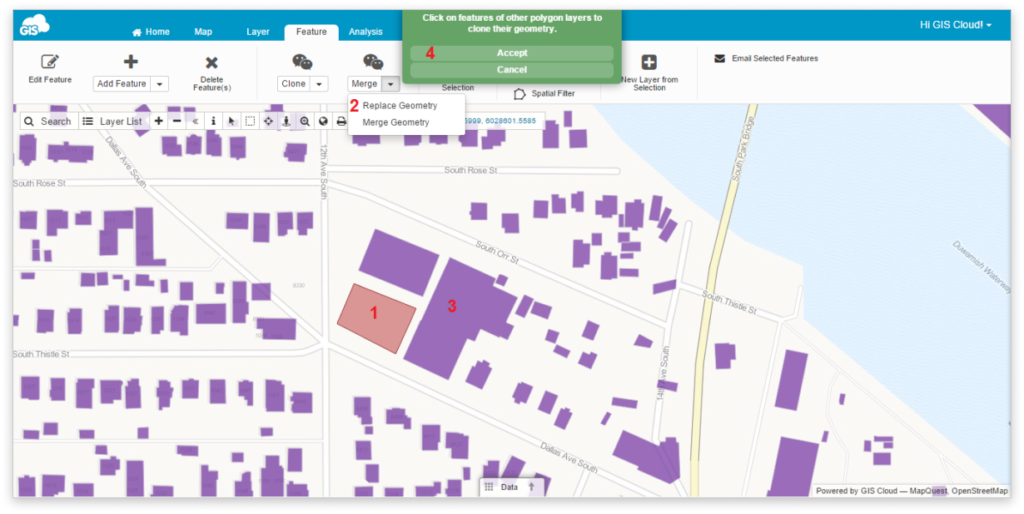
Follow these steps to replace geometry:
- Select an editable feature (the target).
- Select Replace Geometry option.
- Select an editable feature from another layer (the source) to use its geometry.
- Click Accept.
As a result, you get that target feature’s geometry is replaced with that of the source feature. The new feature is stored in the target layer, but the geometry is cloned from the source feature.