How to export attribute data?
The attribute table connected to the layer containing all the data can be exported through the data grid in a CSV format or through the Report feature. Both options allow you to control which columns and features to include in the final product.
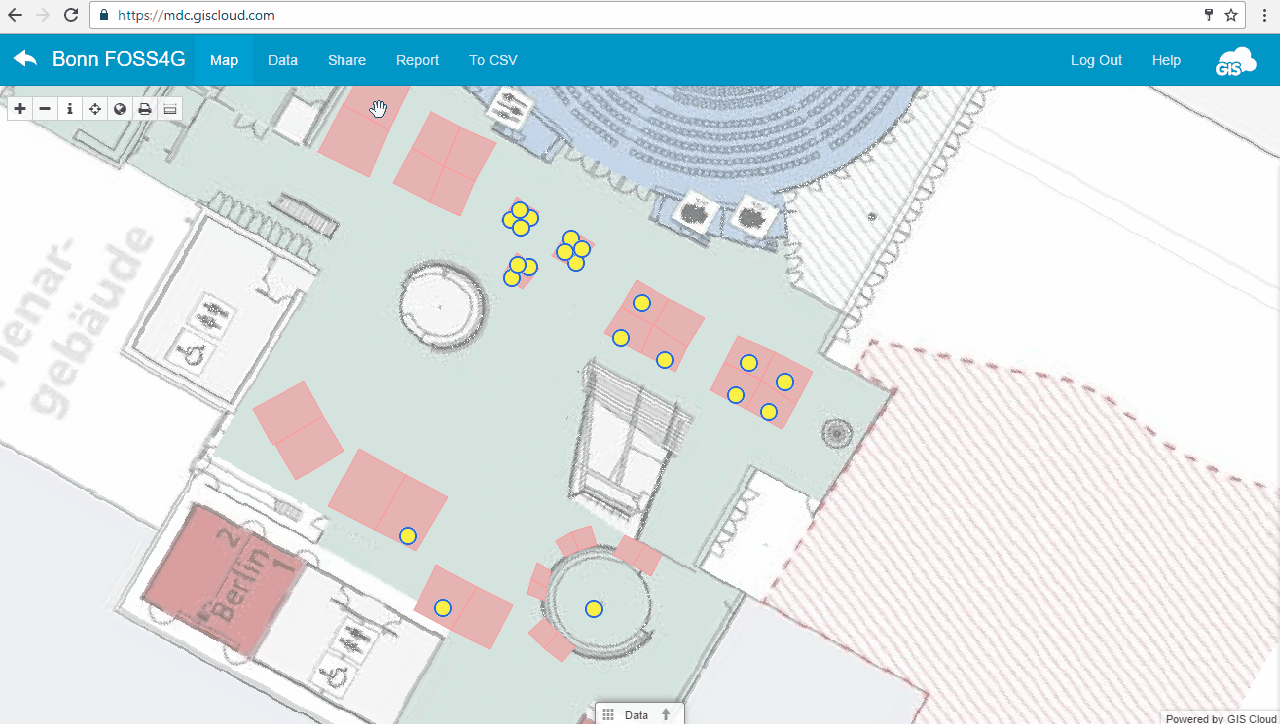
Export attribute data through the Datagrid
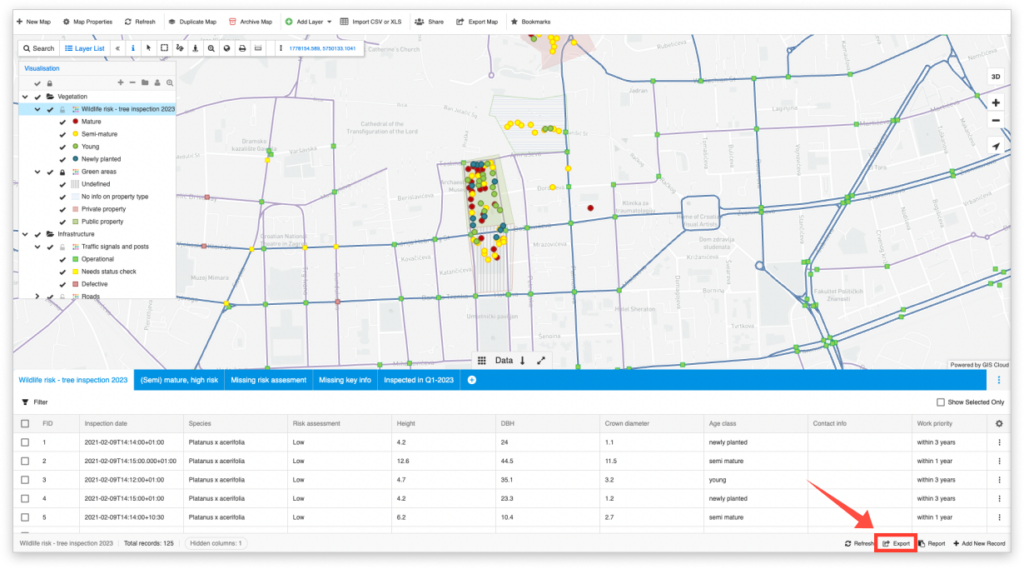
Export attributes tool allows you to export attribute data into the CSV file format directly from the data grid. The tool can be found at the bottom of the Data grid.
You can choose between several export options:
- Export all features – downloads attribute data for all the features in the table.
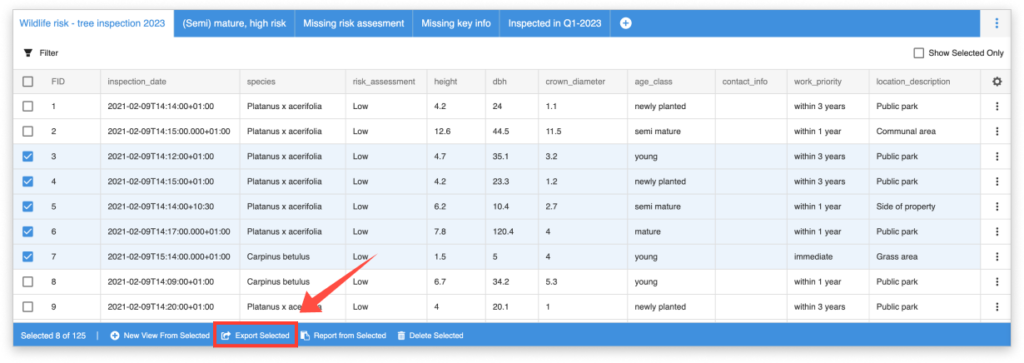
- Export selected features – select features via manual selection, data filter or spatial selection and then click on Export Selected
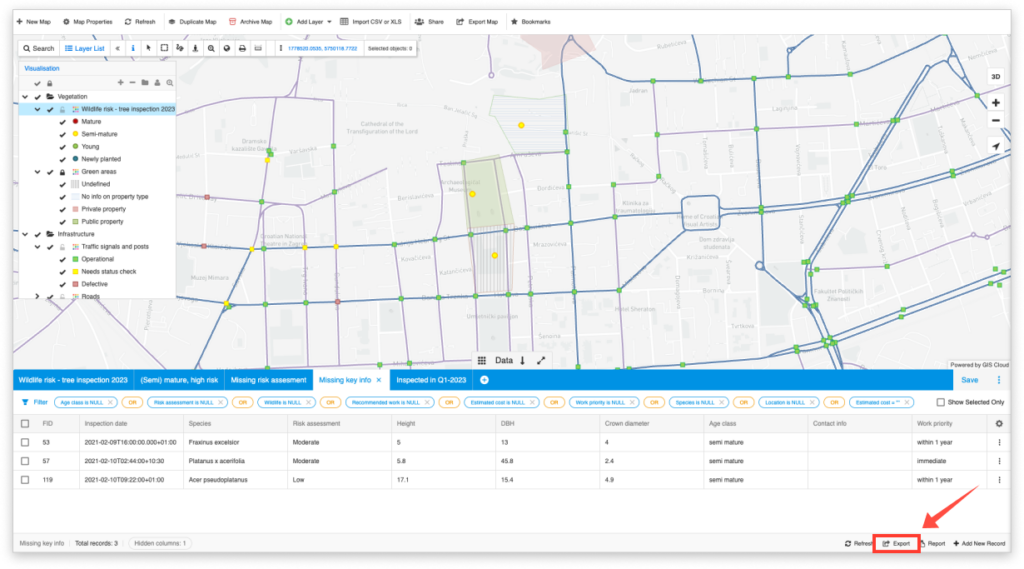
- Export Data View – Created and saved views can be exported
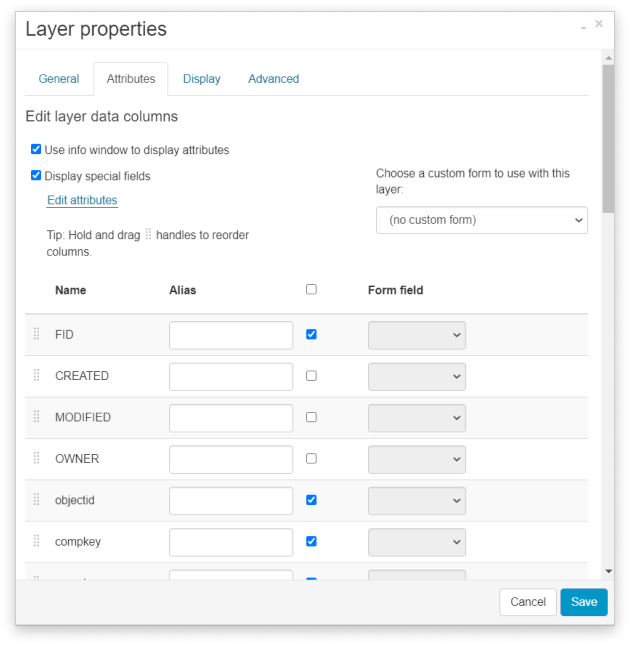
For more control over the exported data, through the Layer Properties (Attributes tab) edit and choose which columns to include in the data grid and eventually in the exported file. Learn more about this option. You can also choose which columns will be visible and exported through the datagrid by clicking on the Customise Table columns button.
Export attribute data as a report
You can easily create a report through Map Editor and MDC Portal containing wanted data and save all attributes, including photos, on your PC.
Click here for a quick video tutorial or check out our guide about Report.
To create a report:
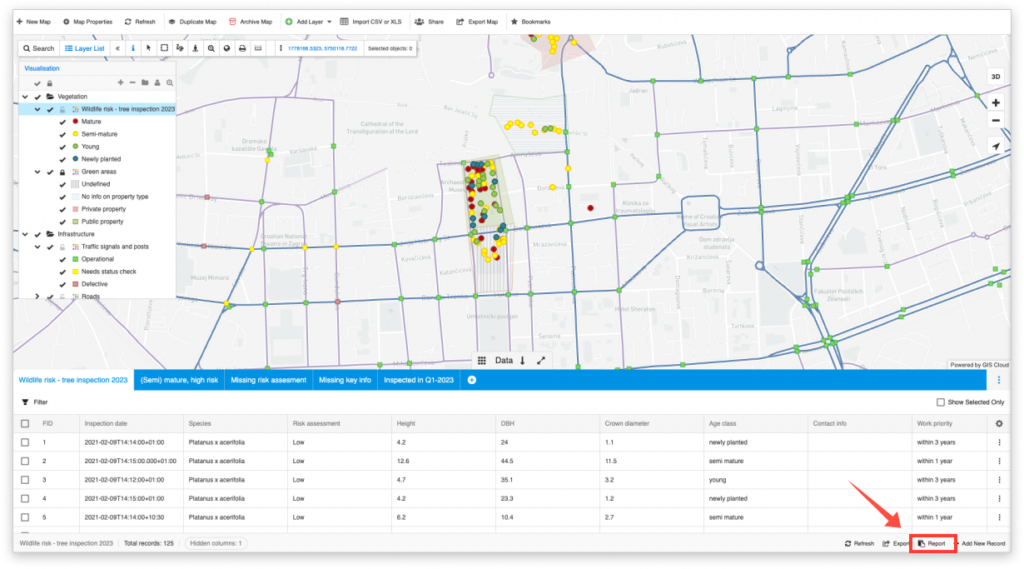
- Select a layer you want to export.
- Select Report option from the Layer tab or from the datagrid.
- Select fields/columns that will be exported.
- Click Create Report.
- Press CTRL + S on the keyboard and a dialogue will open. Select the location where the Report will be saved and select the ‘Webpage, complete’ option. If you press CTRL+P a new dialogue will open to save your report as a PDF document.

- Click Save.