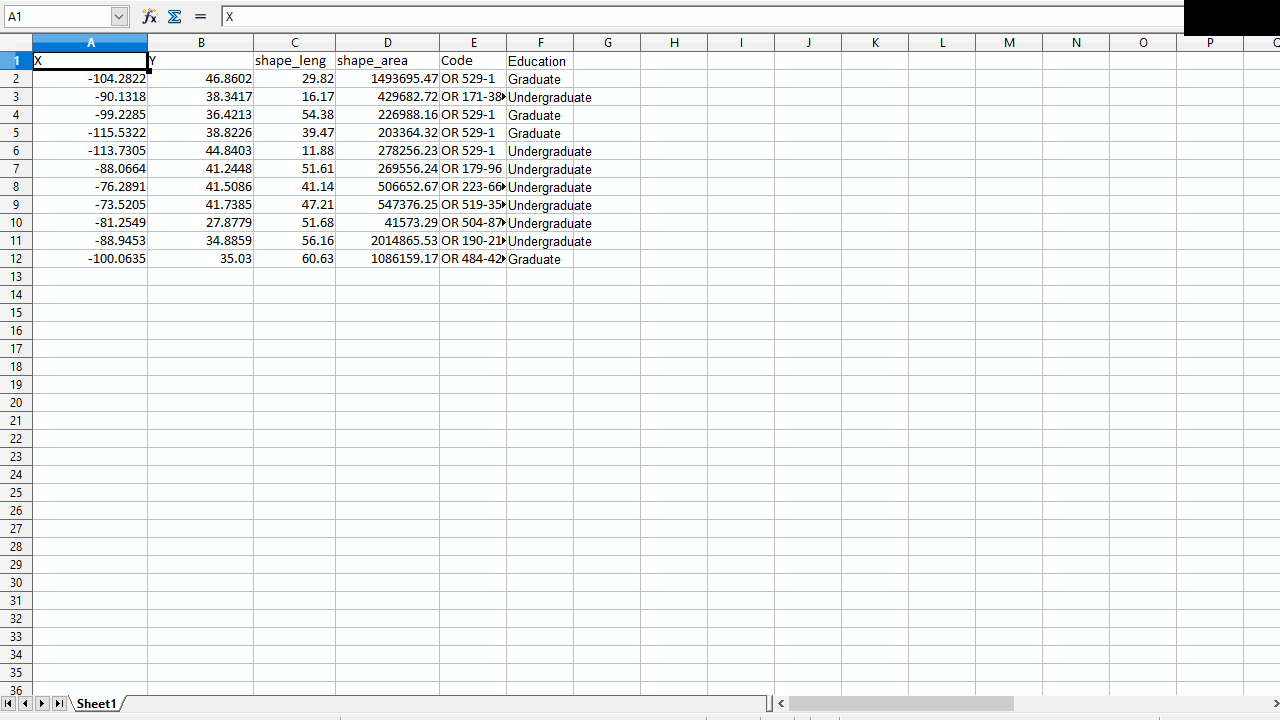
Import CSV/XLS
If you have location coordinates data, you can upload it as an Excel table (XLS) or CSV. This data can then be imported and added to a map as a layer.
Note: Coordinates data can be imported only for point layers.
Prepare data
The data table has to have this structure, otherwise, the system won’t be able to recognize the data:
- Make sure that a table doesn’t have complex formatting (merged cells, doubleheader, more sheets, font colour etc.). Export your table as .csv and open the table in a common text editor (e.g. Notepad++).
- Make sure your CSV file has UTF-8 encoding so that the data is imported into GIS Cloud properly. This helps if there are any special characters in your data.
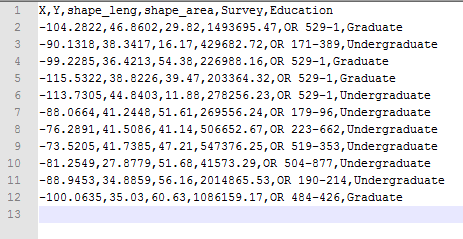
- Latitude and longitude need to have WGS84 projection format (e.g.: 16.4986, -20.7458).
- The header must not contain any spaces.Use underscore (_) not space e.g.street_name, or house_number etc.
- Make sure that column separator is comma (,) and not semicolon (;) e.g. Flatlands Ave, Brooklyn, NY 11234, USA.
- First row (header) has to contain column title and all other columns have to contain data.
- For header names use only English alphabet letters, digits and underscores (_).
- Use full-stop as a delimiter for decimal numbers.
Import CSV or XLS
Follow these steps in the video or instructions below to upload your CSV/XLS file:
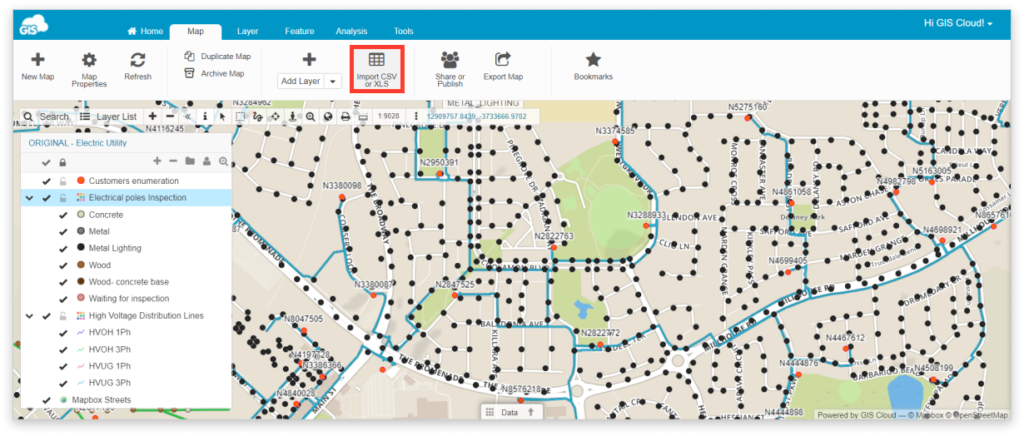
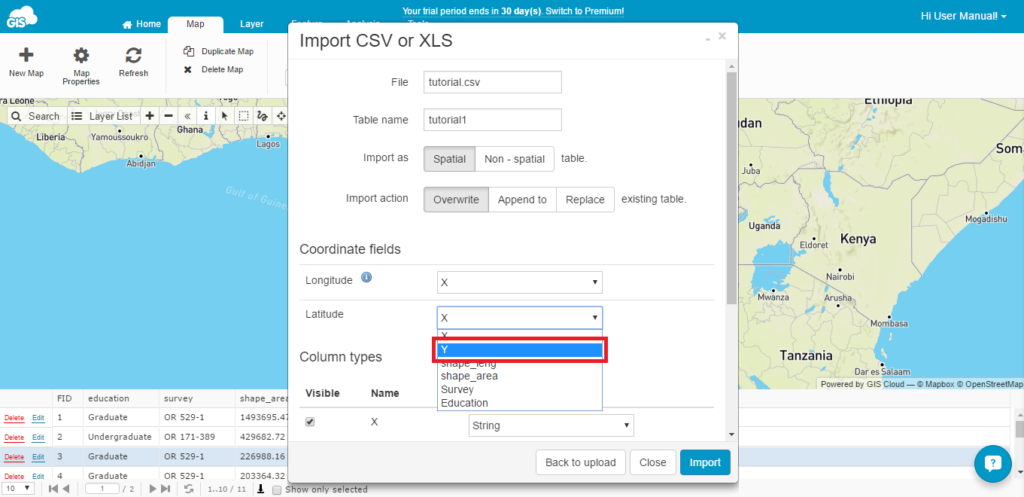
- Select Import CSV or XLS function.
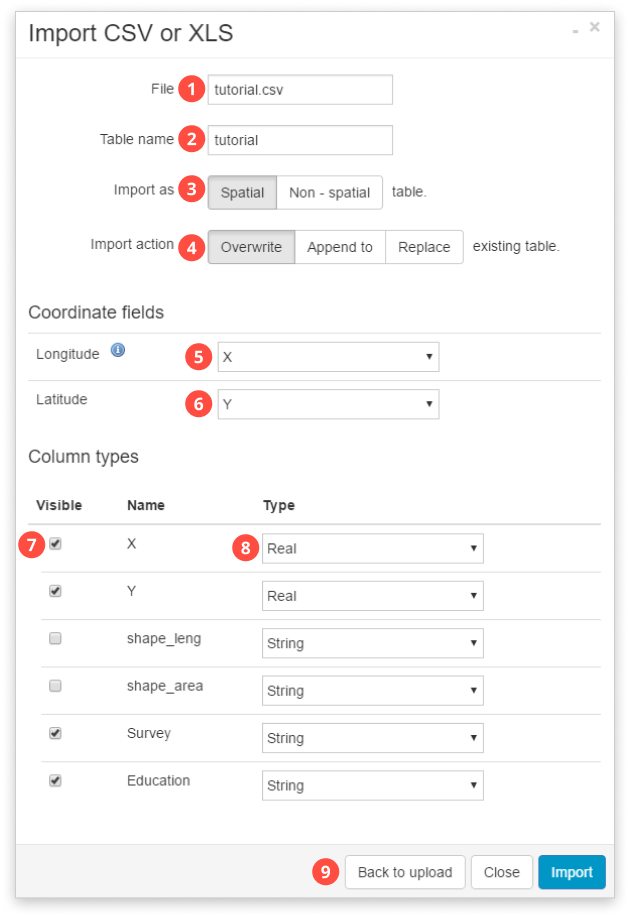
- Browse for the uploaded XLS or CSV in File Manager.
- Set the table parameters, select the coordinate fields and click Import.
- List of parameters:
- File – name of the original file which data will be imported in the database
- Table name – name of the table stored in Database
- Import as – spatial table means that data will have coordinates, and the points will be displayed on the map. If table is imported as non-spatial table, only attribute data will be stored.
- Import action:
- Overwrite – if there is a table with the same name in the database, the new table will overwrite the old one.
- Append to – if there is a table with the same name in the database, a new table will contain both old and new attribute data.
- Replace – will replace the old table with the new one.
- Longitude – from the drop down list select a column that contains longitude data.
- Latitude – from the dropdown list select a column that contains latitude data.
- Visible – uncheck the field if you don’t want to import it
- Type – select column type in which original data is. String is used for text, Integer for whole numbers and Real for decimal numbers.
- Back to upload – navigates to the upload window.
The imported tables are stored in the database and can be displayed on the map.
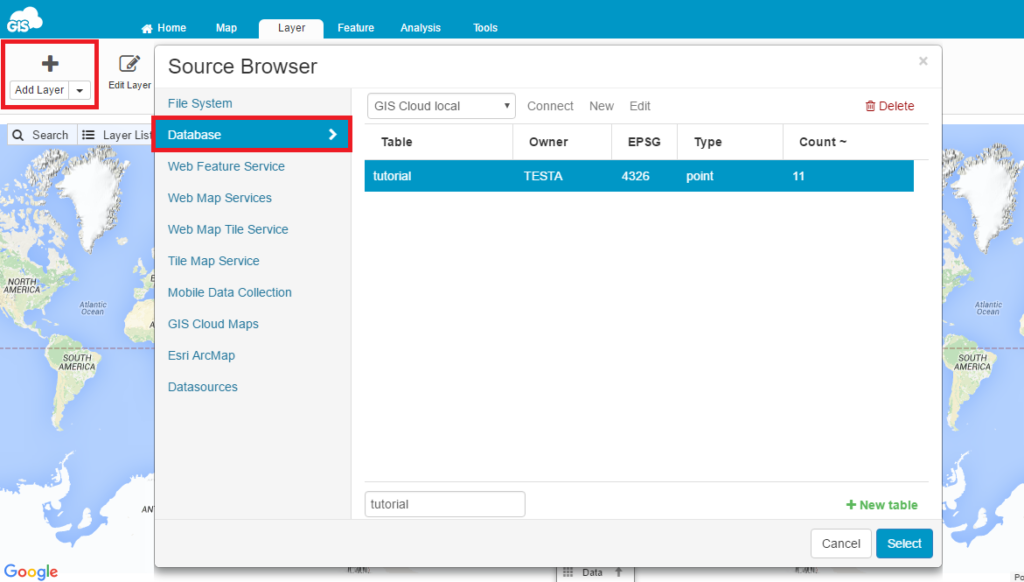
- Go under Layer tab.
- Tap Add Layer option.
- Find your imported table in the database select it and import it into your project.
Troubleshooting
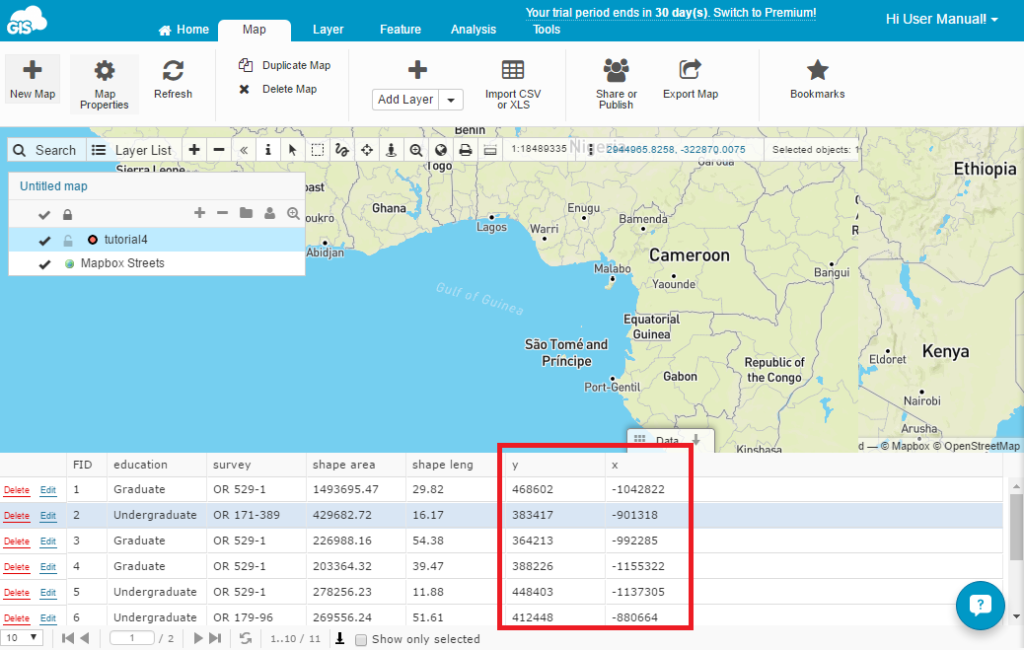
- All points are located in Atlantic ocean, near Africa
There are several possible causes for points located near Africa. In general, this means that the system couldn’t recognize the geometry and located points at coordinates 0,0.
Check the import parameters for X and Y. Select the correct fields for latitude and longitude and try to import the layer again.
Check the coordinates format. All coordinates have to be written in WGS84 projection format e.g. 13.2656,16.2657. If the coordinates in the table are in some other e.g. local projection, reproject them first in WGS84, upload the table to GIS Cloud and try again.
- Invalid file encoding
This message indicates that the file has invalid encoding.
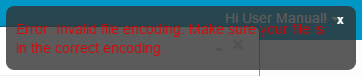
There are various encodings and they depend on the language and special characters. Open the table in some spreadsheet application and save it with default UTF-8 encoding.
- The uploaded file is not visible in Source Manager when selecting the file for import
This indicates that the uploaded file is XLSX or some other unsupported format.
Save the file as CSV or XLS and upload it to GIS Cloud again.
- Unsupported characters
The import can fail if there are unsupported characters in column names e.g. &%$#/() or spaces. Delete them from the column names and replace with the underscore (_). Upload the file and try again.