How to export a map?
The maps in GIS Cloud can be exported to PNG format.
- Open the map in Map Editor and navigate to the Map tab.
- Select the Export Map option.
- Define the export area, output settings and additional options for getting the image you’d prefer.
- Click Get Image to generate the exported map.
- When the exported map is generated, you can choose between:
- Show Image – the exported map will open in a new tab in the web browser.
- Download Image – the exported map will be saved locally on your computer.
Export options
The following parameters can be changed when exporting a map.
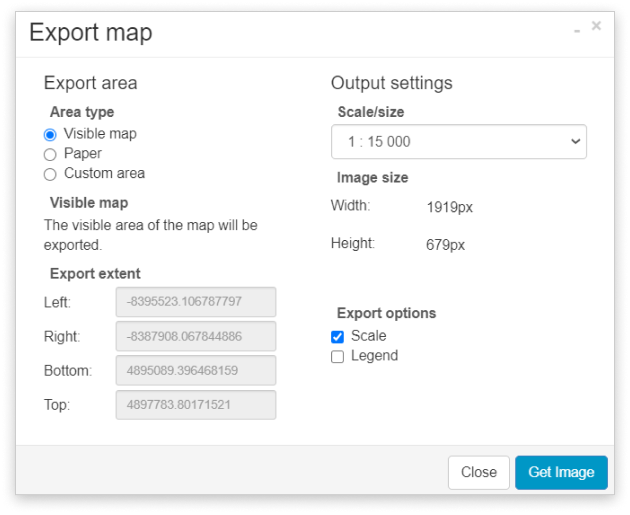
Export area
- Visible map – the current map view will be exported.
- Paper – define the paper format and orientation.
- Custom area – define the map view bounds with Select area or manually insert Export extent coordinates.
Output settings
Define the scale/size of the exported map. It is possible to set Metric, Imperial and relative Screen size for the map export or a custom scale.
In Output options you can include Scale and Legend to be displayed on the map.