How to publish your maps from ArcMap to GIS Cloud?
The GIS Cloud Publisher for ArcMap extension enables you to publish your maps from ArcMap to GIS Cloud. It automatically uploads your data, symbology and layer structure. The idea is that what you see in your desktop GIS is instantly replicated on your GIS Cloud account.
Note: Publisher for ArcMap supports the upload of only vector data, and not raster data.
Download and enable the GIS Cloud Publisher extension
The extension is compatible with ArcGIS 9.x and 10.0+. You can download it from the following link: GIS Cloud Publisher for ArcMap
Note: If you don’t have 4.5.NET installed on your computer, install it before installing Publisher for ArcMap extension. Also, make sure that the firewall is not blocking the app.
To enable the extension in the ArcMap:
- Open ArcMap.
- Right-click on the ribbon.
- Click on the GIS Cloud Publisher extension to enable it.
Publish data to the GIS Cloud
- Open the GIS Cloud Publisher extension from the ArcMap ribbon. If you can’t see it, make sure that the extension is enabled (right-click on the ribbon, the GIS Cloud Publisher should have a checkmark next to it).

- Log in with your GIS Cloud credentials.
Note: You can also define which servers you’re using in case you’re working on our Australian servers, or have an on-premise GIS Cloud installation. The default value is api.giscloud.com. For the Australian servers, use api.au.giscloud.com.
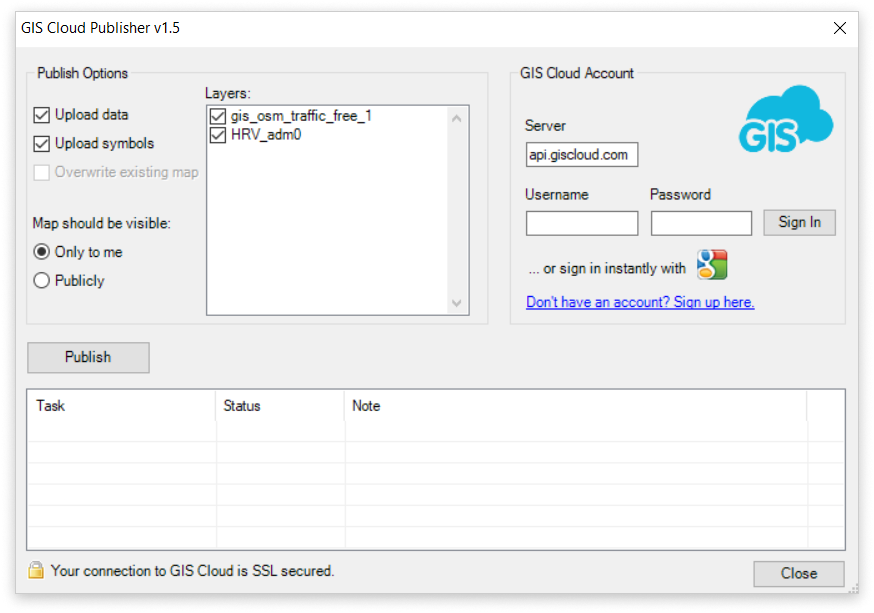
- Set up the publish options (choose whether to upload data and symbols or just data), select layers you want to publish and define map visibility (private/public).
Note: Make sure that layers in the ArcMap are not grouped; otherwise, layers will not be imported into GIS Cloud. If they are, please ungroup them and then use the Publisher.
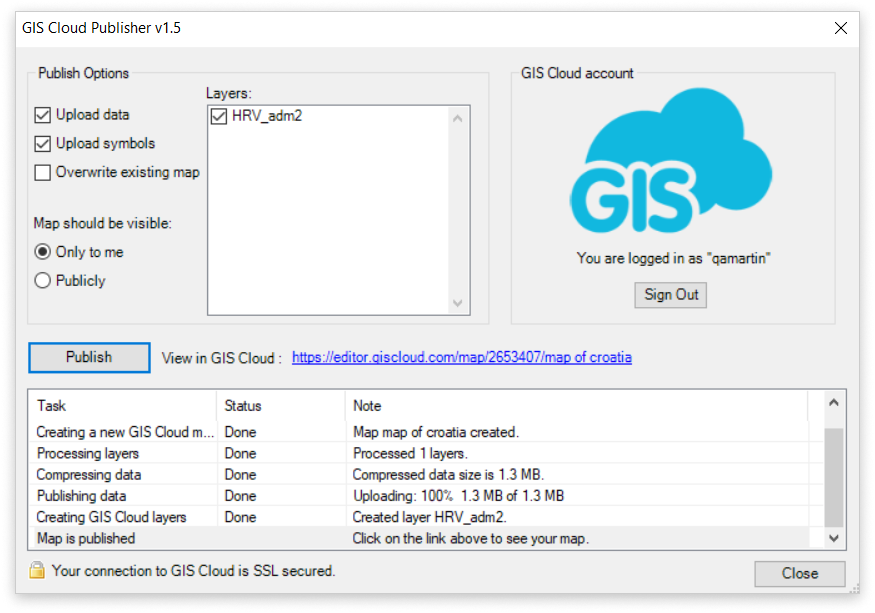
- Click the Publish button and wait until you see the “Map is published” message. Clicking on the link above the task status list, you can see your map in GIS Cloud (direct Map Editor link).
Review data in the GIS Cloud
When data is published, click on the link in the Publisher to open a map in the GIS Cloud.
- Login to the Map Editor with your GIS Cloud credentials.
- Open your newly created map.
- Review or edit the data you uploaded.