How to group form items?
When working on forms with many form items, it can be useful to nest related items into different groups in order to organise the form better and simplify form navigation for field users.
You can create these groups directly in the Mobile Data Collection Portal or the Forms Manager in Map Editor.
When in the form editor, click on Add new group and drag it to the desired location in the form. Next, add new form items to the group or drag and drop existing ones. You can show or hide the group in the Forms Manager by clicking the arrow to the right of the group name.
Create as many groups as needed, name them, and optionally, add group descriptions. Once you’re done, you can save the form and use it in the field (in Mobile Data Collection Portal, saving is done automatically).
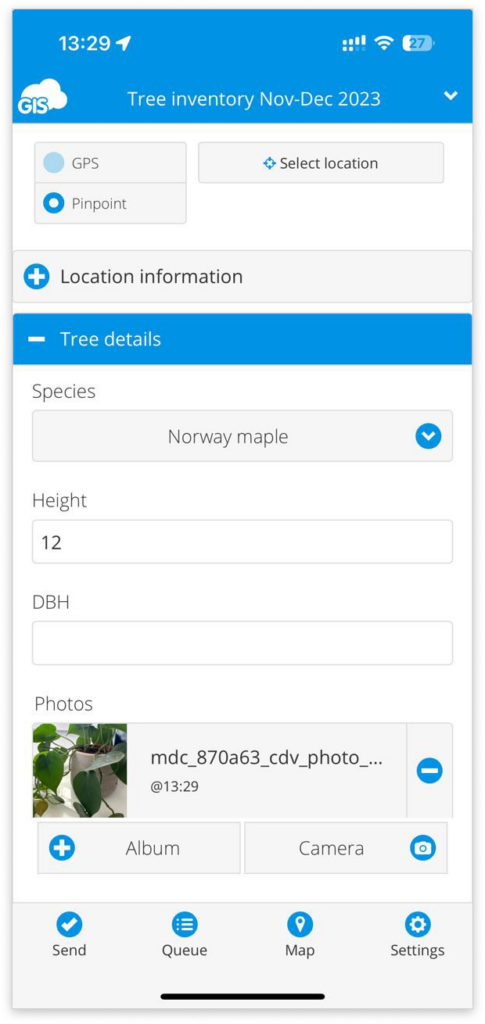
Groups can be seen when adding new or editing existing features both in Map Editor, and in the MDC app. In Map Editor, hide or show group items by clicking on the little triangle next to the group name. In MDC app, click on the plus icon next to the group name in order to see all group items.