How to publish your maps from QGIS to GIS Cloud?
The GIS Cloud Publisher for QGIS is a QGIS plugin that enables uploading maps from QGIS to GIS Cloud. It makes it super easy to transfer and publish your data from your desktop GIS to the cloud!
Our Publisher allows you to publish your maps and data from QGIS to GIS Cloud with one click, preserving your symbology, and integrating your desktop solution with the cloud. You can also update all changes to your QGIS project (or to specific layers) and sync it with published maps in GIS Cloud, as your project evolves. Share your maps privately or publicly through GIS Cloud with your colleagues and the public.
Getting Started!
The GIS Cloud Publisher can be found among other Plugins in the QGIS plugin repository and quickly installed, free of charge.
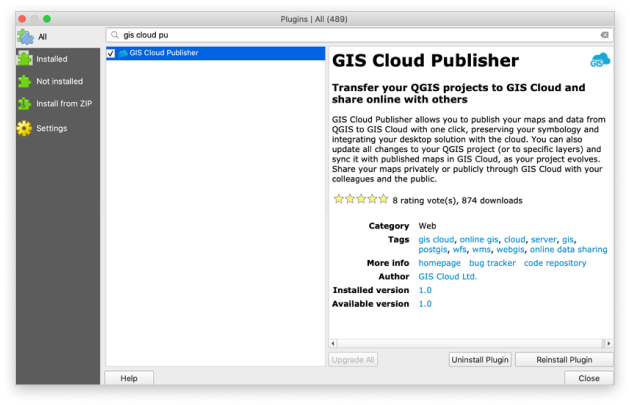
The plugin is compatible with QGIS 3 and QGIS 2.
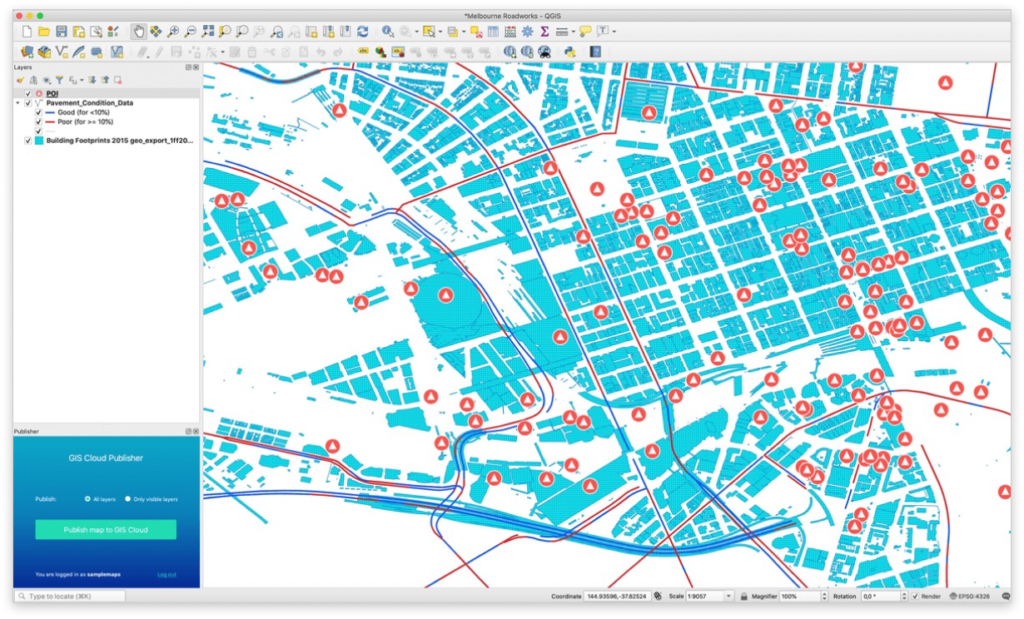
The publisher window will appear in your QGIS panel; all you need to do is sign in and start publishing.
Publish Data to GIS Cloud
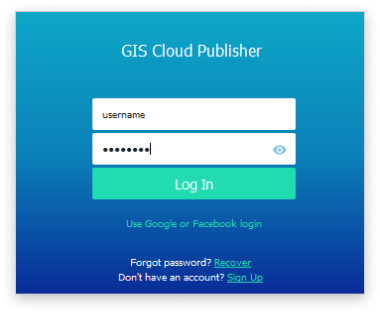
- Log into QGIS Publisher with your GIS Cloud credentials
You can also log in with your Google or Facebook account. If you don’t have a GIS Cloud account, you can sign up and try it for free. If you have forgotten your password, you can reset it here.
- Review your QGIS Project
GIS Cloud supports many different vector and raster spatial formats. You can find a full list of supported formats here. Add as many layers as you want on your map, classify attributes and use almost any type of symbology for visualization of your data.
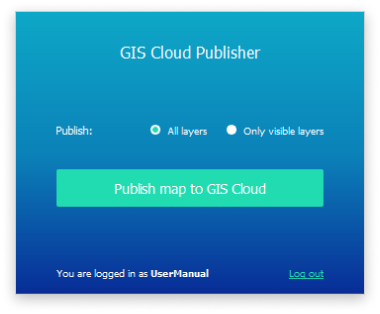
- Click on the “Publish map to GIS Cloud” button when you are ready to upload your map to your GIS Cloud account. You can choose to publish all layers or only visible layers from your current QGIS project.
- Choose the map name and whether you want it to be private or publicly available in GIS Cloud.
Click the “Publish Map” button and wait until all the layers are processed and uploaded to GIS Cloud. Note: if the project isn’t saved, you will be asked to save your QGIS project locally on the computer in order to be able to update the map afterward.
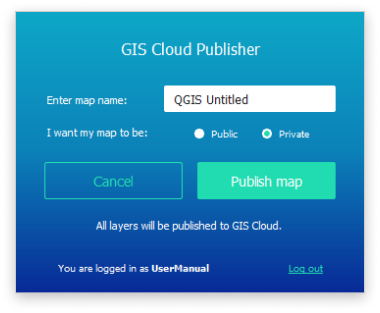
- Your map is now ready!
To access your map, click on the “Open map in GIS Cloud” button. Private maps are protected with your GIS Cloud username and password, and you can also share them privately through the “Share & Publish” GIS Cloud option. Public maps can be instantly accessed and shared online using the button “Copy Map Link”. Just send your link to anyone.
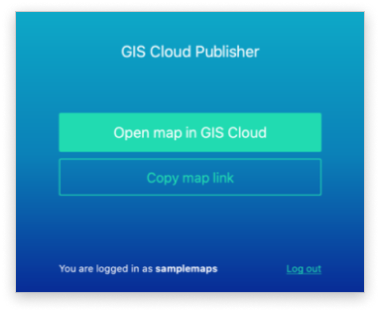
All the uploaded files will be stored in your File Manager – in the qgis folder. Learn more about File Manager options.
Review data in GIS Cloud
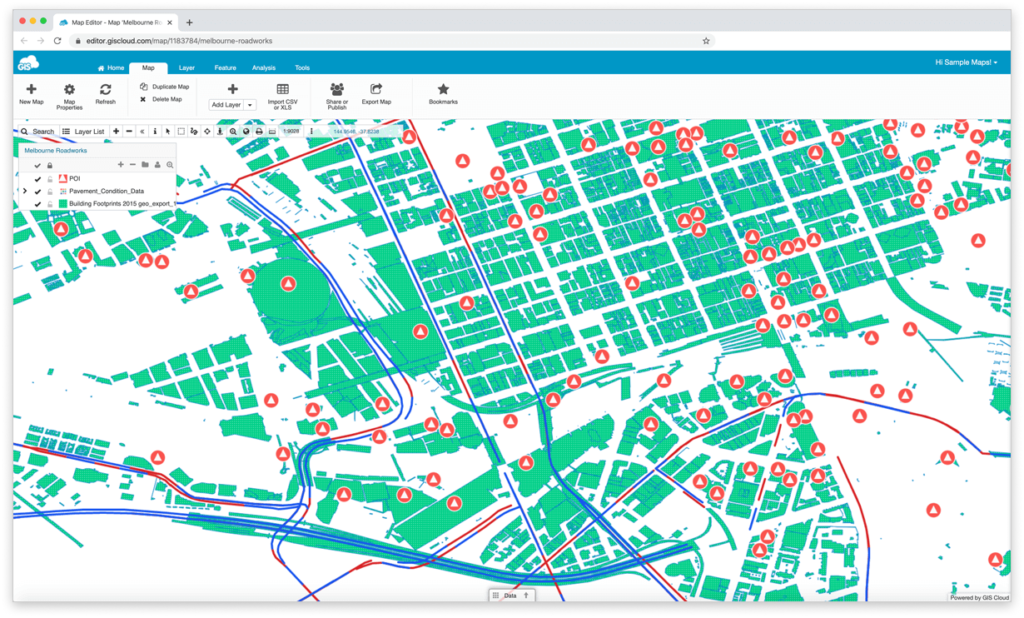
After the map is published, you can open it in GIS Cloud Map Editor. Just log in and check out your newly uploaded map.
If the layers in Map Editor aren’t visible, navigate to the Layer tab and click Zoom to layer.
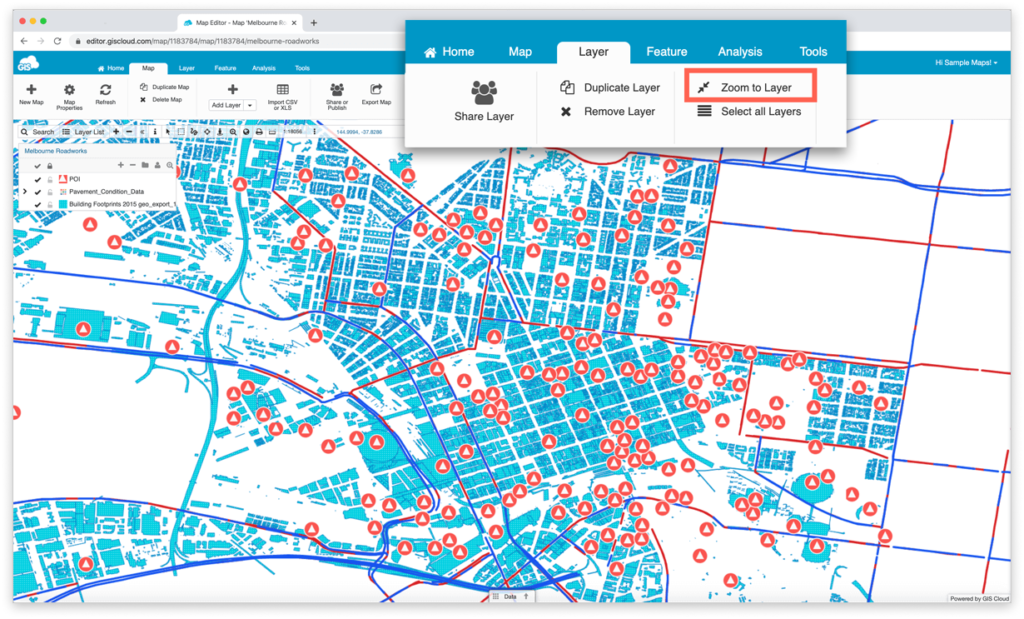
You can now use all the benefits of our Map Editor, and other GIS Cloud apps like Mobile Data Collection (for instance, to collect field data into your published map).
Learn more about Map Editor functionalities.
You can also add additional layers to your published maps into GIS Cloud, like PostGIS, WFS, WMS/WMTS, SHP, KML, rasters (tiff), and other vector and raster formats (find the link to the extensive list of supported formats above). More about uploading layers can be found here.
The layers you add directly to your published GIS Cloud map will remain in your map until you decide to remove them. You can safely update changes to your QGIS with and sync it with your published GIS Cloud map using the plugin, knowing that this won’t influence or change layers uploaded/added directly to your GIS Cloud map.
Edit and Update your map
After the map is initially published to GIS Cloud, it is possible to update the same map or publish it as a new map.
Note: Make sure you have saved your QGIS project locally on your computer during the initial publishing to be able to update the changes.
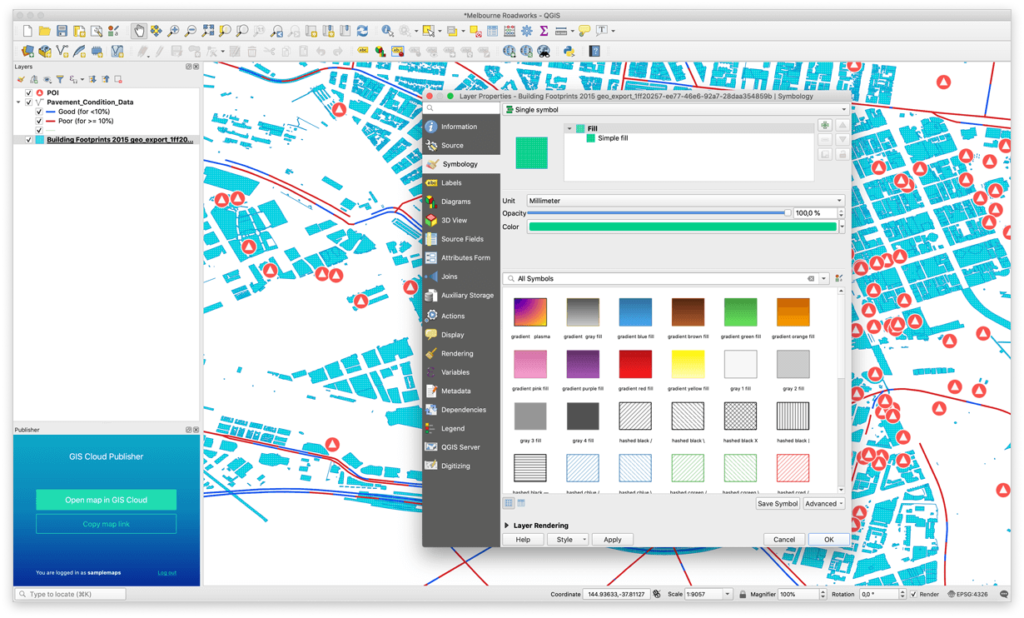
*After you made changes to your QGIS project, you can sync them with your published map.
Update published map – this option will update the previously uploaded GIS Cloud map. You can choose whether to update all layers or only visible layers and once the change is synced, you can open the edited map in your Map Editor.
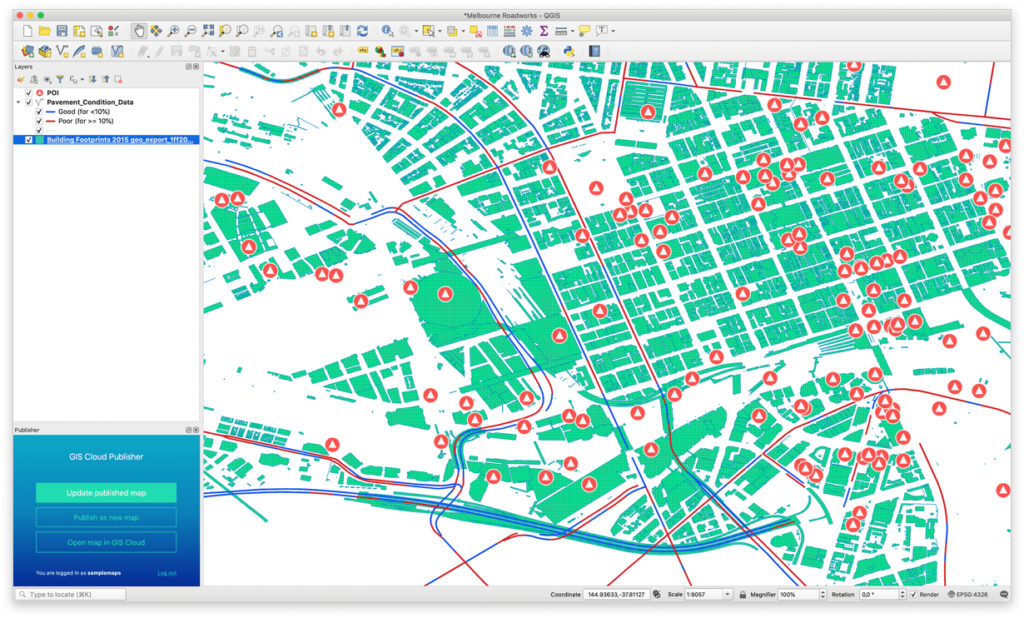
Publish as new – this option will create a new map in GIS Cloud. Again, you will be able to choose the new map name and set it to Private or Public.
Keep in mind, once you publish the edited version as new, you won’t be able to update the previously uploaded version of the map. There will be two different maps in your Map Editor – the old and the new version. You will only be able to update the newest version of your map.
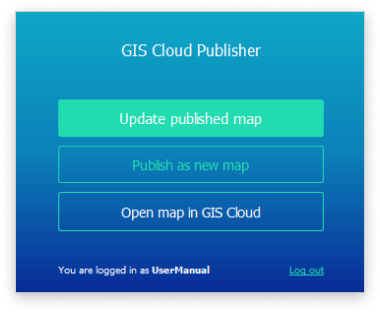
Open map in GIS Cloud – as usual, opens the previously published map in your Map Editor.
You can also check out our tutorial video on publishing your QGIS maps to GIS Cloud. The tutorial also includes steps for making the published data editable in GIS Cloud. Check out the video below!
As a GIS professional, you might be interested in our other plugin – The GIS Cloud Publisher for ArcMap (ESRI), so feel free to check it out as well.
Note: In case you encounter any difficulties or have any questions or suggestions, you can always reach out at support@giscloud.com and we’ll help you along! If you’d like to know more about our solutions, feel free to contact our consultants at sales@giscloud.com.
